From day one we knew that the entire bathroom would need to be remodeled to make it functional again. Nightmare. We had ripped out every inch of the old bathroom and decided to reconfigure the entire room to accommodate a different location. I knew that I did not want to have a bathroom that covered the entire back of the trailer, as it had taken up so much space before. So, we needed a new solution.
We have seen others do side bathrooms in their renovations. I quickly said no to that, as I wanted more of an open floor plan throughout the whole trailer. Another challenge presented was that we were moving to a larger bed on one side of the trailer, instead of the two twin beds that existed before, on either side of the trailer. With the larger bed, we could no longer do a center door for the bathroom. The door needed to be moved to the side. So, with all this in mind we came up with a new design.
Drawn picture of the back of the trailer
Our bathroom design bumped out the one wall a little bit into the trailer, but with the slanted wall and it getting skinnier as it goes back provides more open walking space to left of the bed. I thought this would be a much more open feel, especially when the slider barn door will be installed in the door frame (won’t swing out into the space). The space to the left of the bathroom will be a closet, complete with litterbox housing at the bottom for our kitty, who will be traveling with us (more on that later!).
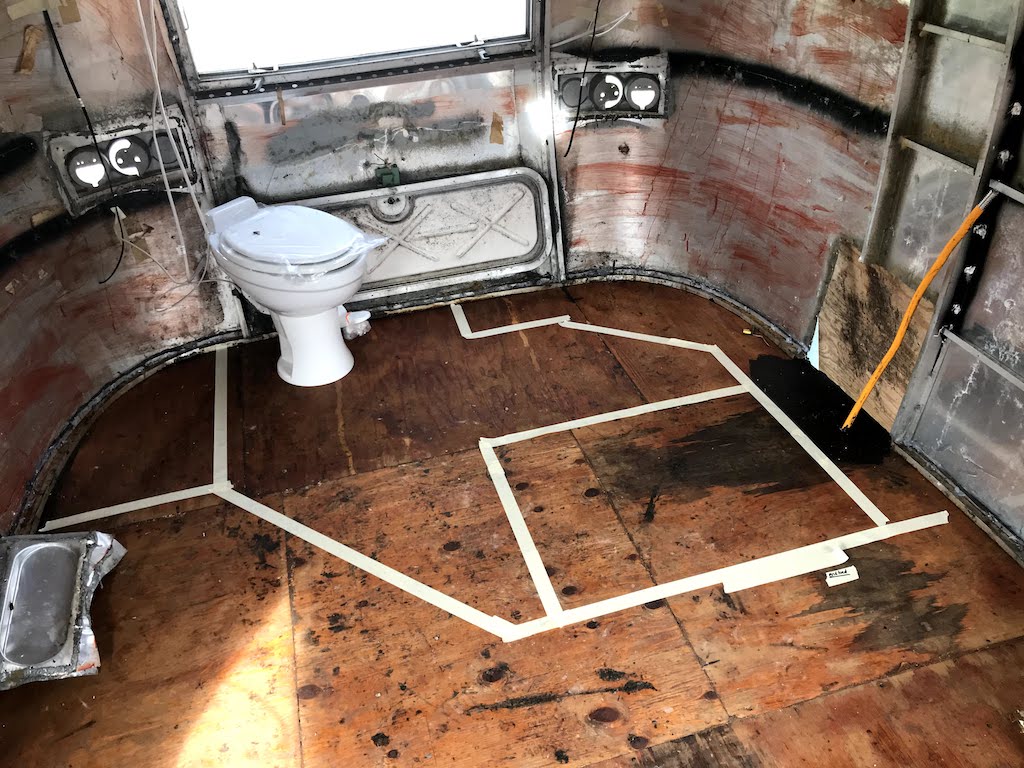
With our plan set, we mapped it out on the floor and ordered a shower pan. We did this because our bathroom would essentially center around the shower pan dimensions and plumbing needs. Once the shower pan arrived, we were able to really see how much space we were going to need to be able to navigate in this very small space.
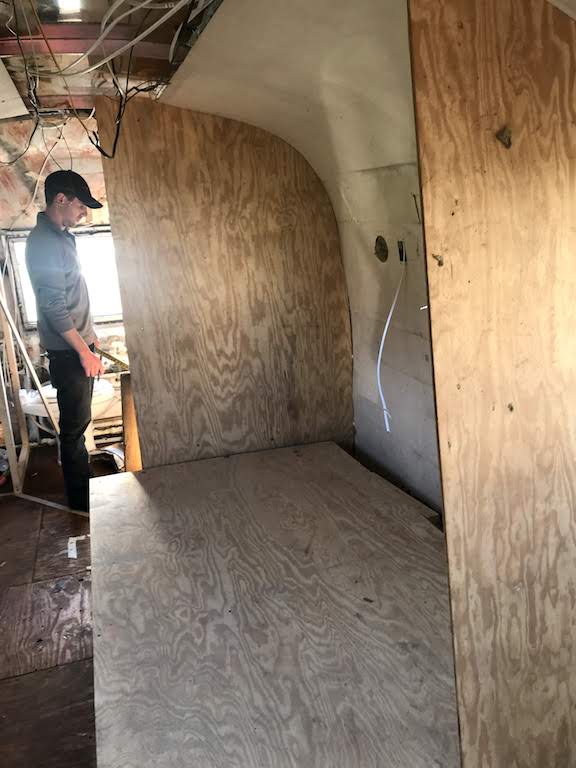
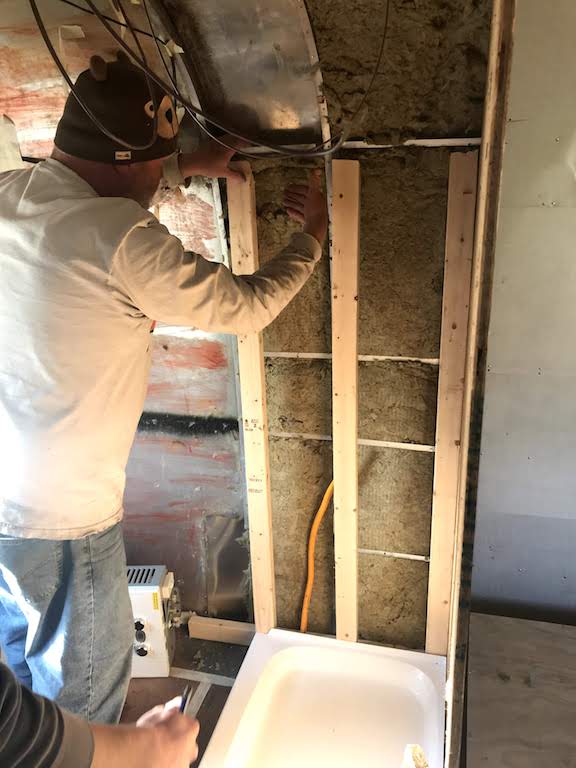
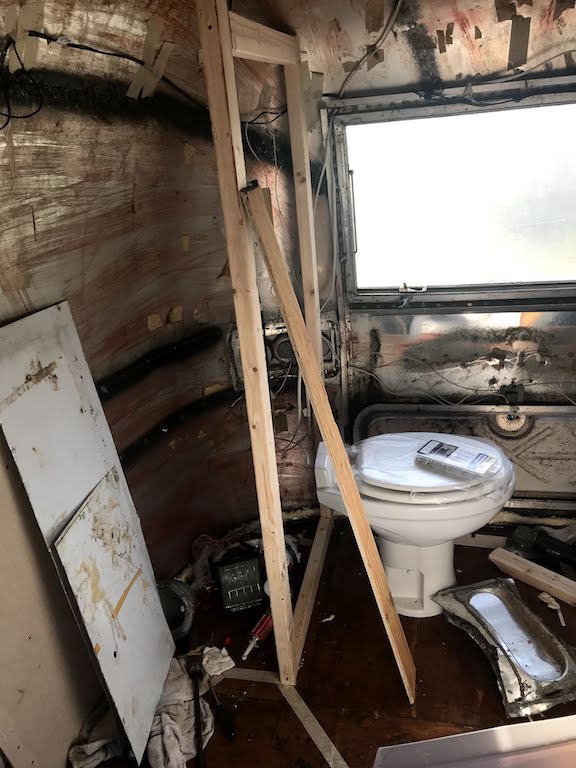
With our dimensions set, the boys cut out sheets of plywood to fit the walls for the one side of the bathroom and our skinny wall cutting off the kitchen from the “bedroom.” Then, they cut a piece of plywood to fit the dimensions of the full bed we would have. With all of these cut, they were able to get another 3 or 4 inches of bathroom. They did this because even with me saying, “It’s okay that it’s tight, we will make do,” they wanted that few extra inches for easier navigation in the bathroom. Just those few inches made a huge difference. With the dimensions set, Brandon was able to frame out the shower with 2×3’s to snug in the shower pan. Once this was built, we needed a plan for the walls.

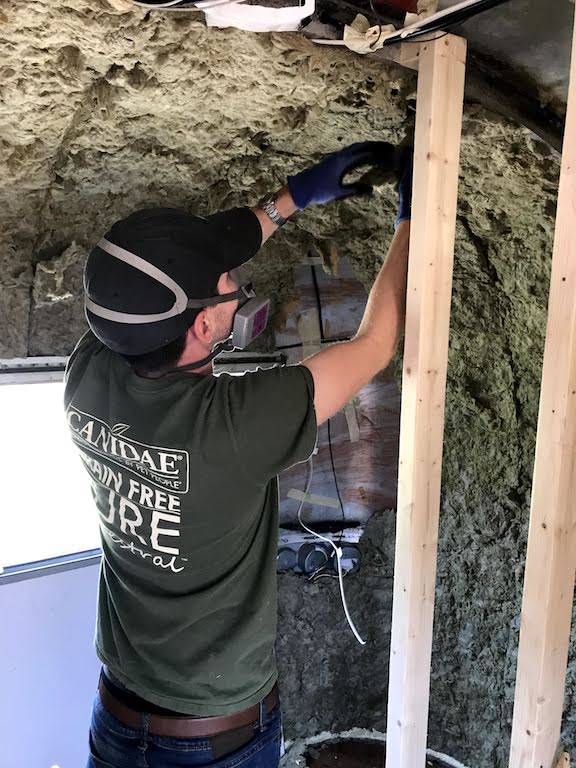
Okay, so this is going to be controversial. And quite honestly, I’m afraid to post in Airstream communities about this for fear of getting ripped apart for not using aluminum. But, I have to say, with all the confidence in the world, that my husband is a genius. Being an expert in Facebook Marketplace, the man found sheets of PVC plastic for sale in the Scranton area. So, he trucked on up there and bought them. And when I say they were significantly less than if we had purchased sheets of aluminum, believe me. Brandon saved us a lot of money on this. AND it was going to be water proof and sealed tight, which was essential for our moving bathroom. It was also going to be a hell of a lot easier to deal with and form into the shapes we needed. Like I said, genius.
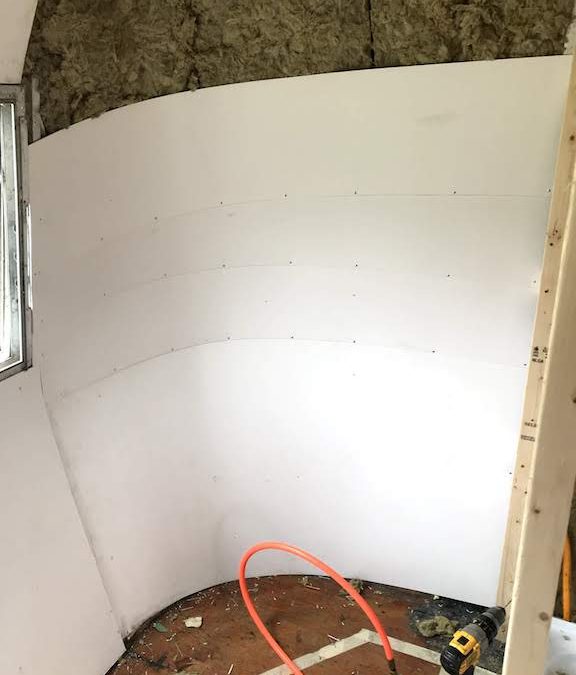
So, with the framing mostly complete, we started measuring out the size of walls in the bathroom. We began with above and under the window. Thank the LORD that this PVC stuff popped right into place and bent enough to conform to the unique curves of the airstream rear. Hallelujah. However, with the even more unique curves going all kinds of different directions on the back side/top of the trailer, the PVC wasn’t working to bend and conform. So, with all of the youtube advice and watching other Airstreamers do this, we cut 11-12 inch thick strips of the PVC into “pie slices” and layered them one on top of the other from the bottom to the top, riveting them as we went. Because we could use full sheets for above the window, we saved ourselves a lot of headache from doing the whole back as pie pieces (like we’ve seen others do) and just doing the side of the trailer with that strategy. I think it turned out way better than we expected!
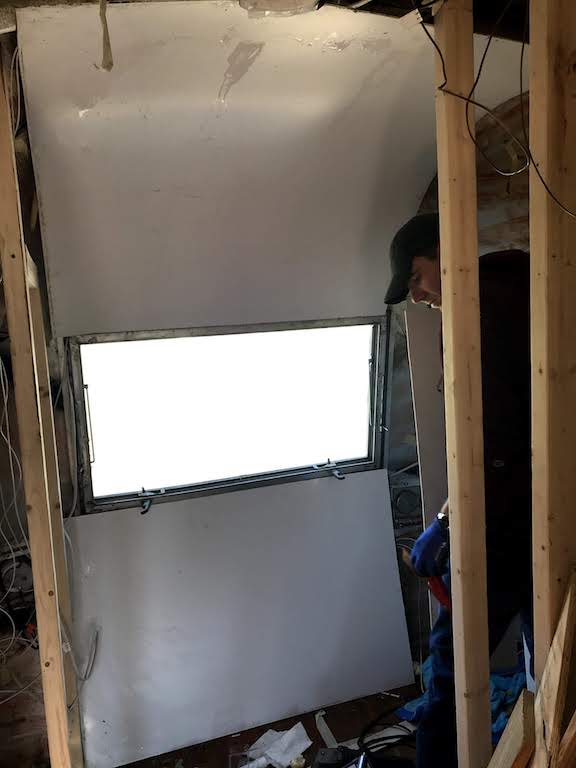

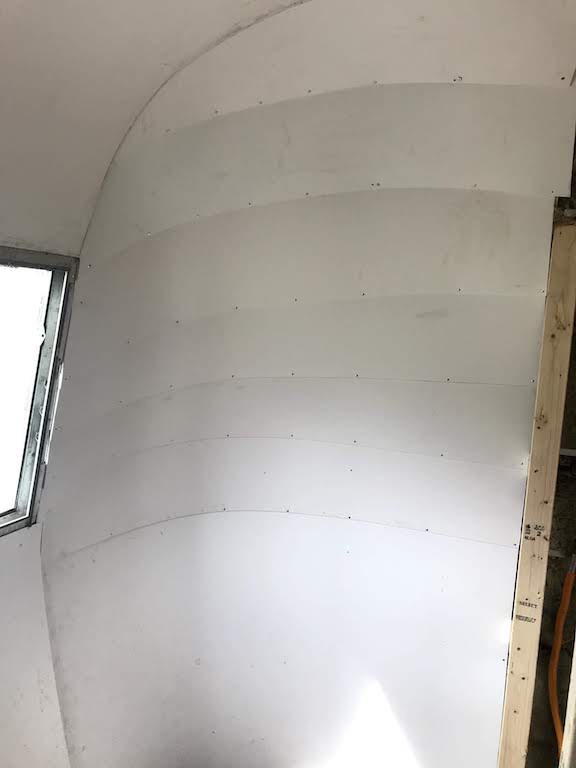
Our next difficulty was inside the closet, where we had another multi-curved surface. We again used a full PVC piece for the bottom chunk. Luckily, in the mix of PVC sheets, there were some really thin pieces. We took one of those pieces, cut in half, and riveted both pieces to the walls, overlapping each other. With just one intersection, it was able to bend pretty well to the surface. It doesn’t look the prettiest, don’t get me wrong. But it’s in a closet, so who cares???

One of the hardest parts of this project was getting the curves right when cutting the plastic. I heard a lot of curse words come out of Brandon’s mouth that day. Unfortunately, because this section of the airstream was a huge single fiberglass or plastic chunk for the bathroom, there wasn’t a piece of the wall we could save to give us that great curve as a template. We also were building walls in new places, so they didn’t help much. For many of the complicated cuts on a curve, we had to make an oopsie cut and then use that piece as our template for the good one. Yeah, we wasted some plastic, but at the end of the day, it was the only way to solve the problem.
Today, Brandon and I finished hanging the rest of the walls for the bathroom. These were a little different, because they were not riveted to the studs. For these, we used liquid nails to attach the PVC to the wood framing or plywood and then screwed them together to hold. Later, we will cover the screws in paint or white silicone. Dave also set up our two switches for the light and the vent fan. He put these in the wall between the closet and the bathroom.

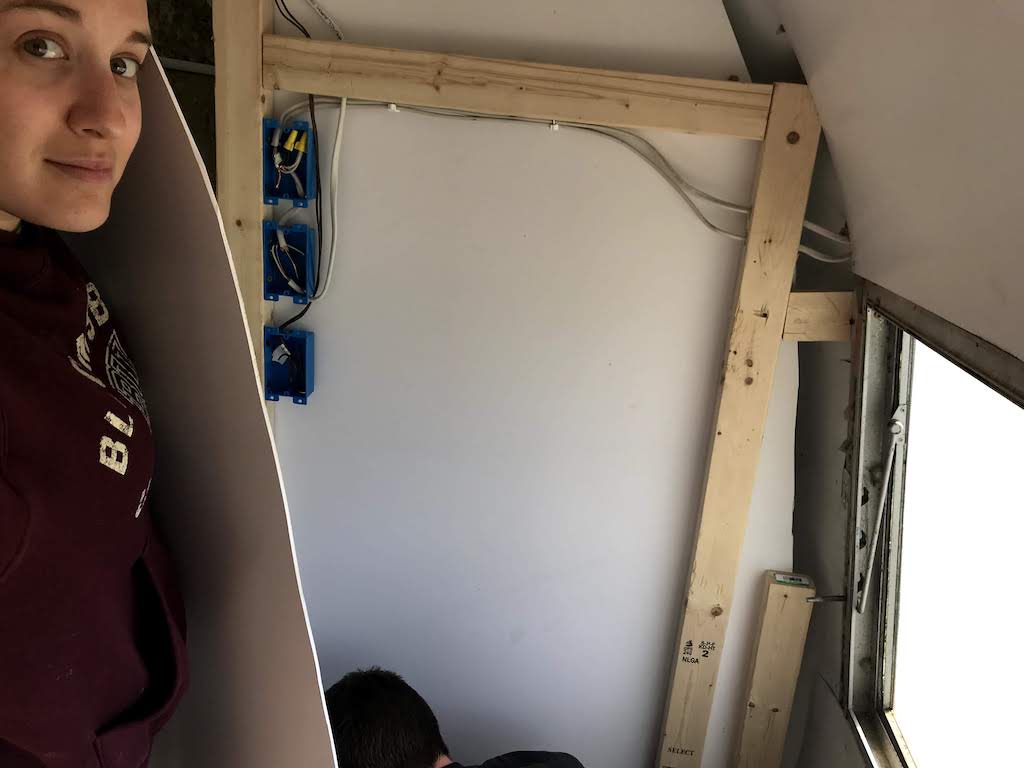
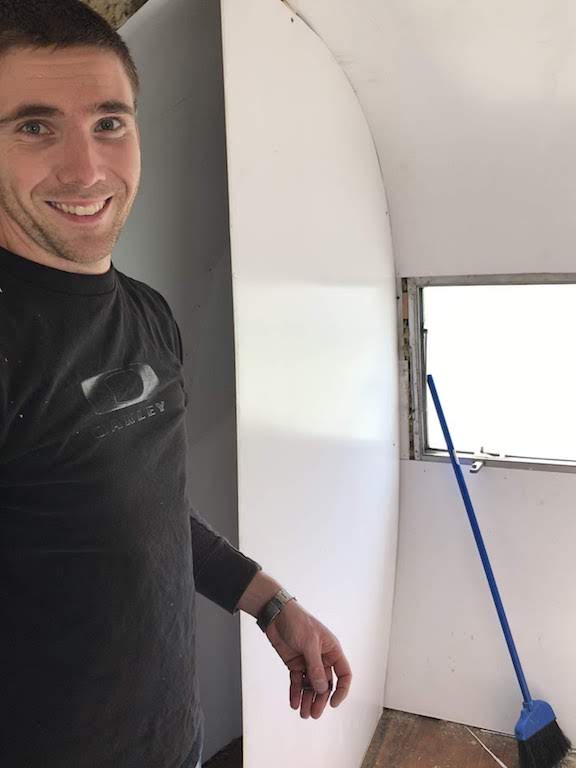
We just have the walls in the shower stall to finish! And then to create the doorway. And then make a bathroom cabinet. And then finish the plumbing. And then silicone every damn wall piece where it connects to another. Soo… step 1 done? Ha! Onto the next steps!
Much love,
Lauren

Test