Once the frame was undercoated completely, we were ready for subfloor.
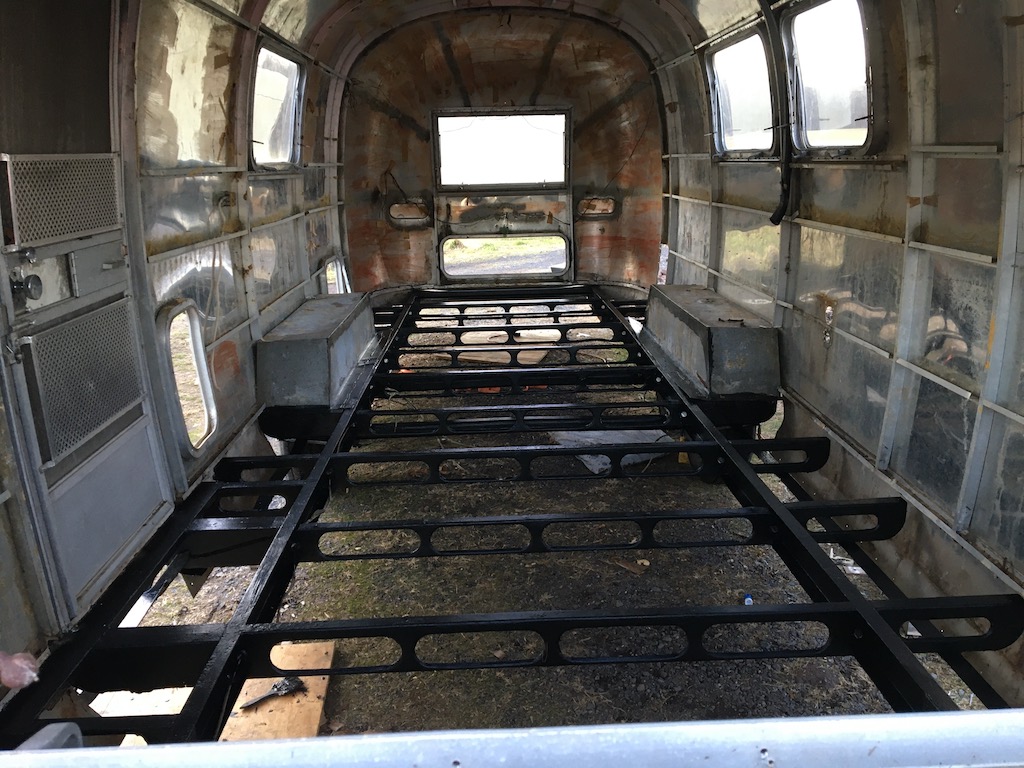
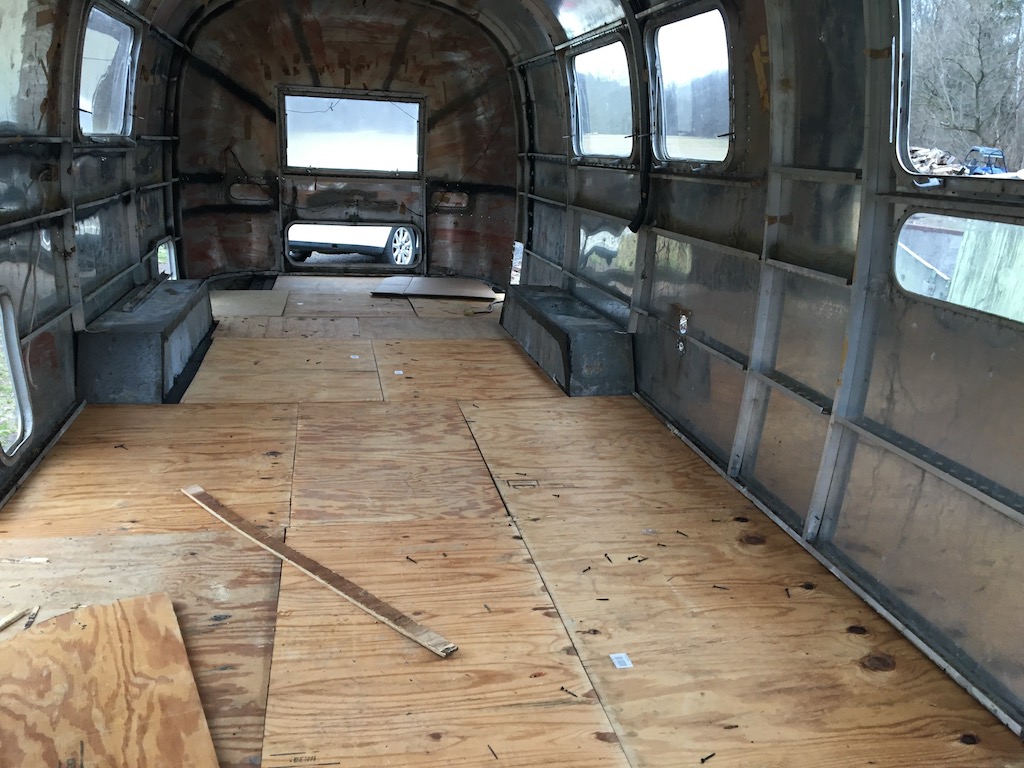
Lots of people choose to use composite (OSB) subfloor as you would in a house. However, we were concerned with the moisture and it being a trailer, that composite may not be the best for longevity. We did not take the shell entirely off of the frame, so therefore, using full 4×8 sheets of plywood was not practical either for fitting under the C channels (the lip at the bottom of the interior skeleton that the ribs attach to) on either side of the trailer. We landed on using 1 inch plywood for added stability. The 48 inch by 48 inch sheets were great for stability also because they could slide under each C channel. I tackled the full covering of subfloor with a good buddy of mine, Joe Homan. While I measured, he cut.
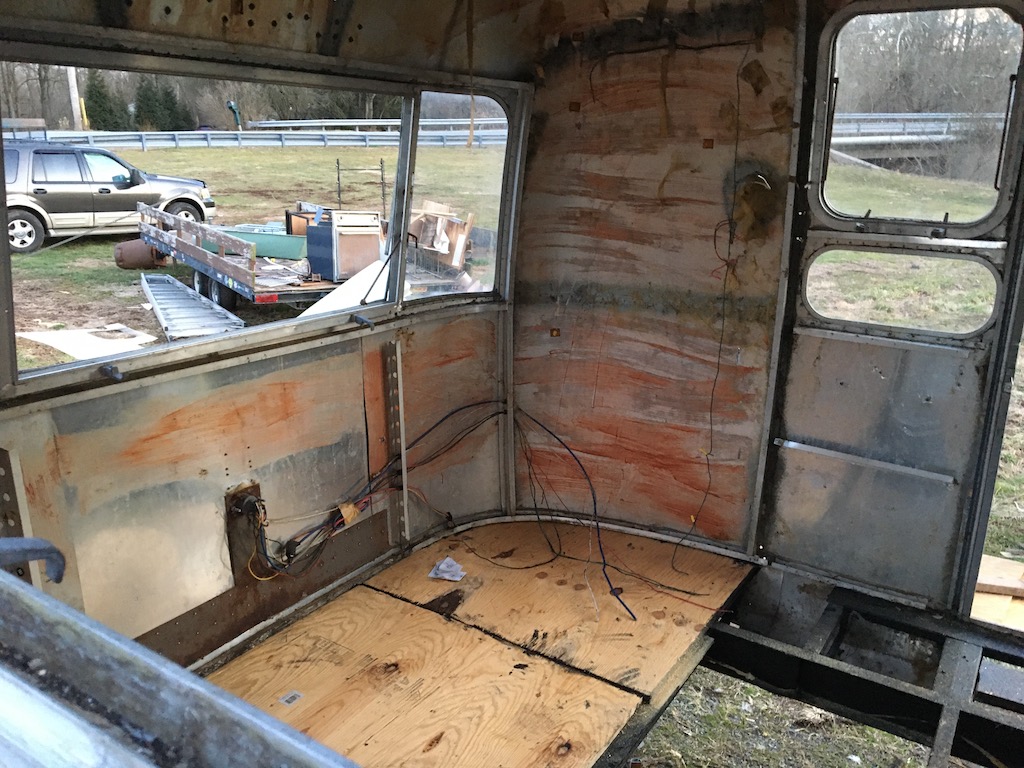
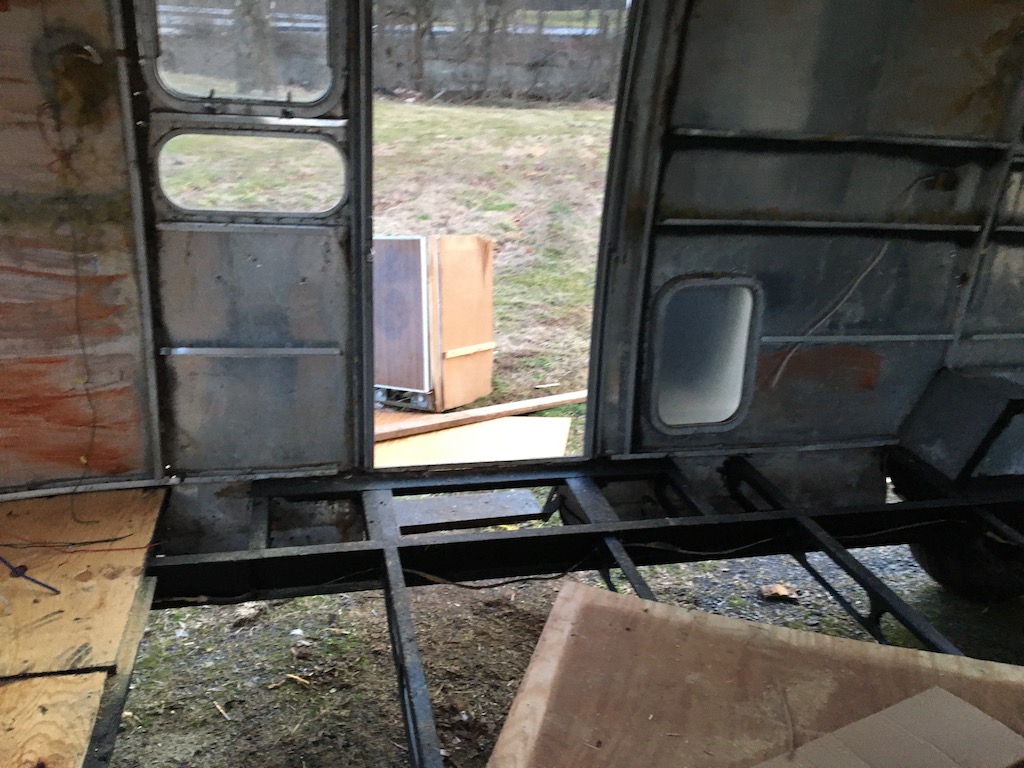
Cutting the subfloor to go around the curves at the front of the trailer is where we began. We used cardboard to create a template, then transferred that template to a piece of plywood cut by a jigsaw. Attaching the subfloor to the frame was another beast.
It turns out that the frame supports going from side to side alternate the heights every other beam. What this means is that we had to come up with the difference in height in order to lay down sheets of plywood that were flush with each frame rail. We used half inch plywood strips to build the lower supports up. Drilling into and attaching wood to fifty year-old solid steel is just as hard as you’d think. We reused many of the holes from the previous subfloor to bolt the wood down. Metal self-tapping screws were used for the pre-existing holes. These didn’t work well. You needed to drill a pilot hole first or they would snap off and break. Lots of cursing. We went through many drill bits and had a screw graveyard that day.
Stability Issues
Because we could not remove the shell and use full sheets of plywood as subfloor, there were many seams that needed re-supporting. When walking on the subfloor, the boards flexed. We knew that this wasn’t sustainable in the long run. So, we cut and attached 2x6s to the underside at the seams at the subfloor for additional support. Yes, this did mean that my lovely wife would have to yet again get under the trailer and undercoat some more wood (her favorite thing in the world), but it gave us the stability we needed.

Sealing
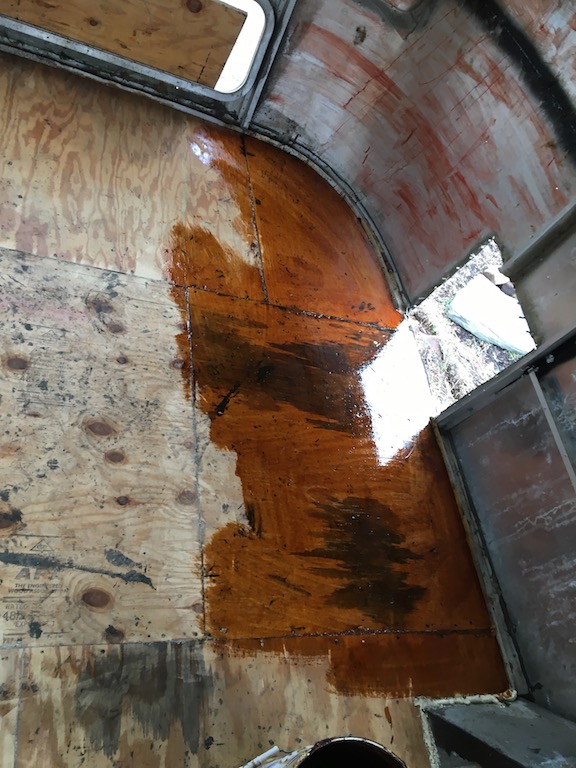
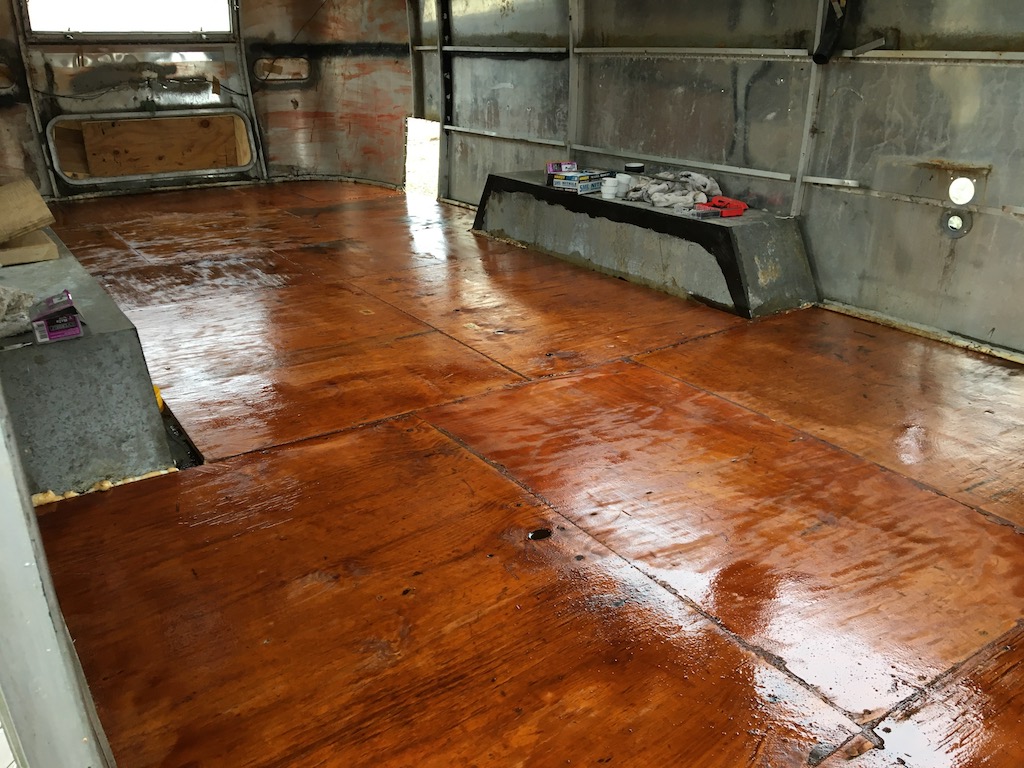
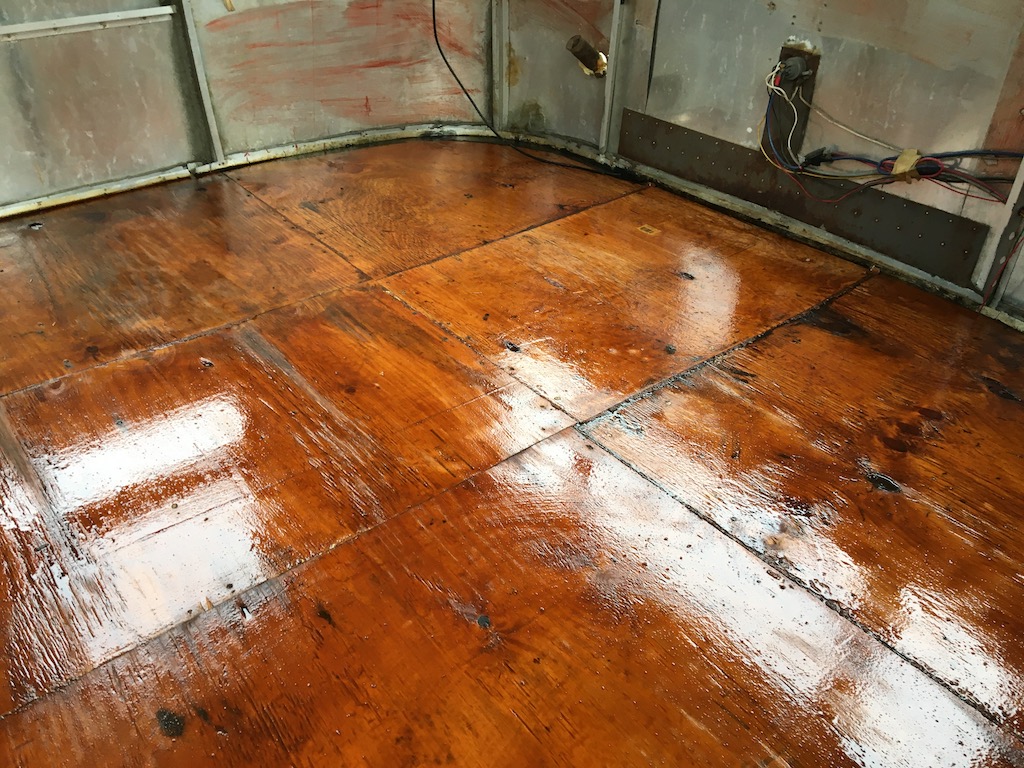
We sealed the top of the subfloor to prevent additional water penetration and protect it for years to come. This is probably not necessary and overkill, but we didn’t want to take any risks. We spread epoxy over the top surface.
Lessons Learned
Since this is not a house, as I’ve subfloored before, there was a lot of lessons learned doing it in an airstream.
The biggest lesson learned is there is almost zero support around your gray and black water tanks. Our recommendation is even if you use full sheets of plywood, resupport with additional 1×6 or similar boards between the subfloor and black/gray tank.
When you are doing the area around the bathroom, don’t worry about where exactly your shower and toilet will go. You can have general ideas and then after the flooring is all down, you can cut the holes later.
Brandon

Recent Comments