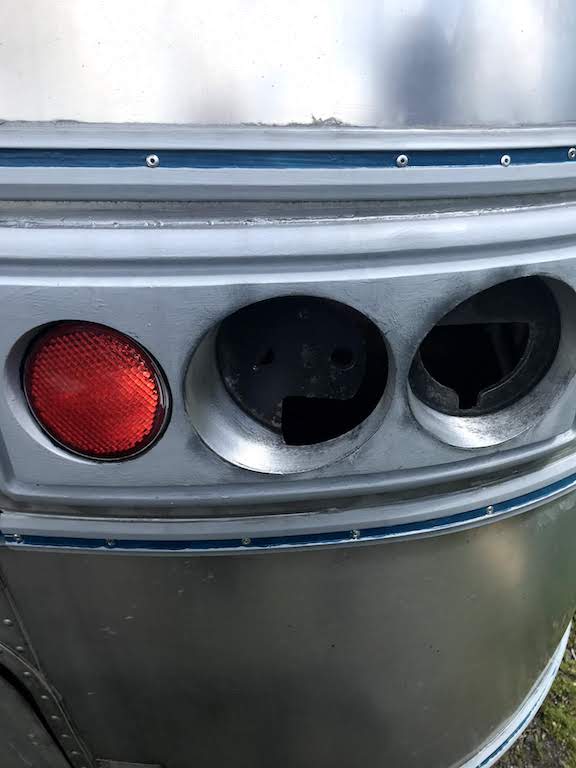
Our lights were busted and broken, rusted out completely. We knew this was going to be a task for us to accomplish at some point. Now that we are close to the point of being totally waterproof and framing out the bathroom in the back, we needed to complete this step- and fast!
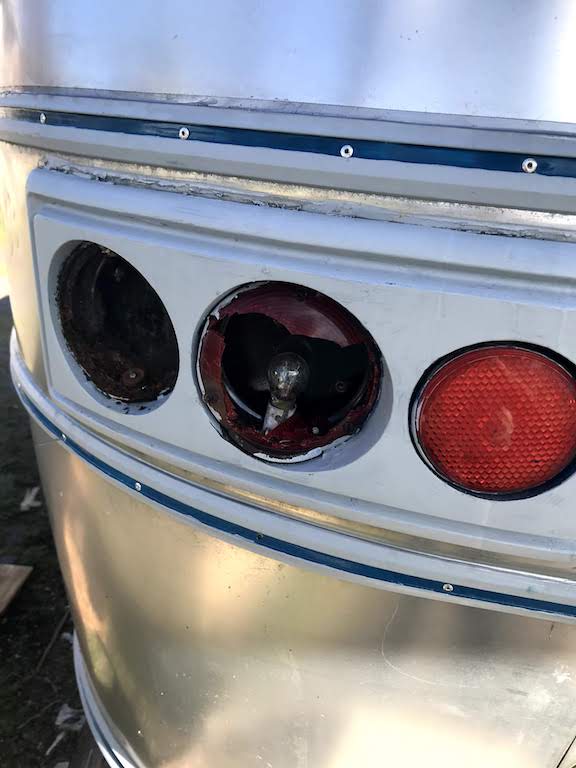
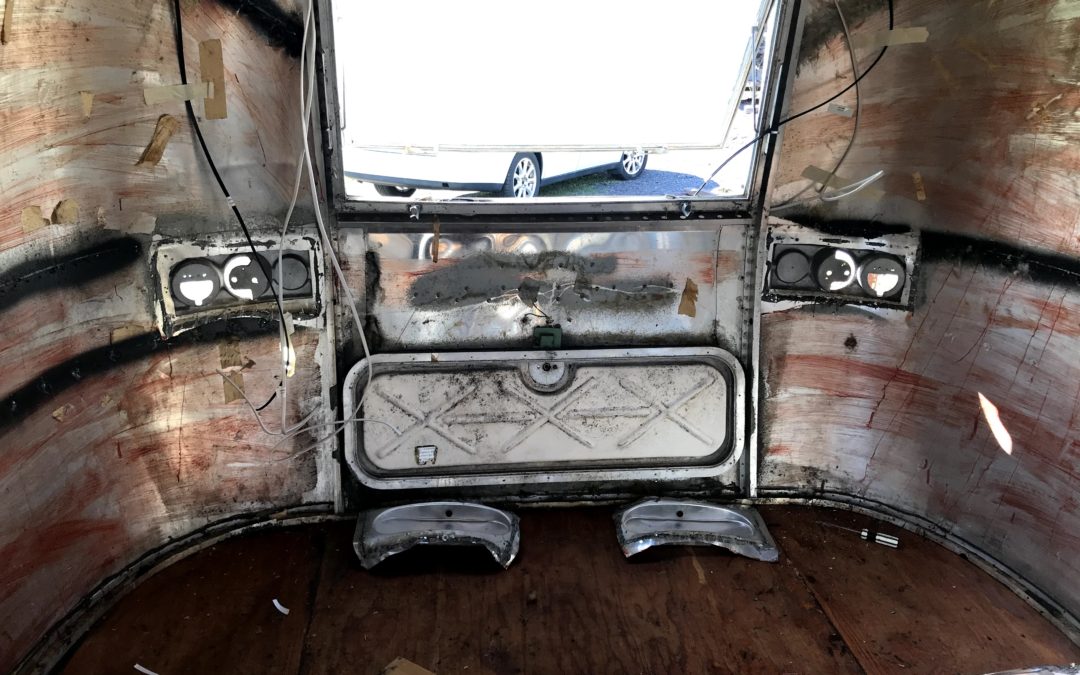
The first step was to remove the metal casing on the inside in which the wiring was contained. Not an easy feat. These pieces were riveted on first and then was sealed on with dum dum sealant. Once the caps were off, we pounded on the back of the old fixtures. They finally popped off. I took home the old lights and measured them- 4 inches in diameter.
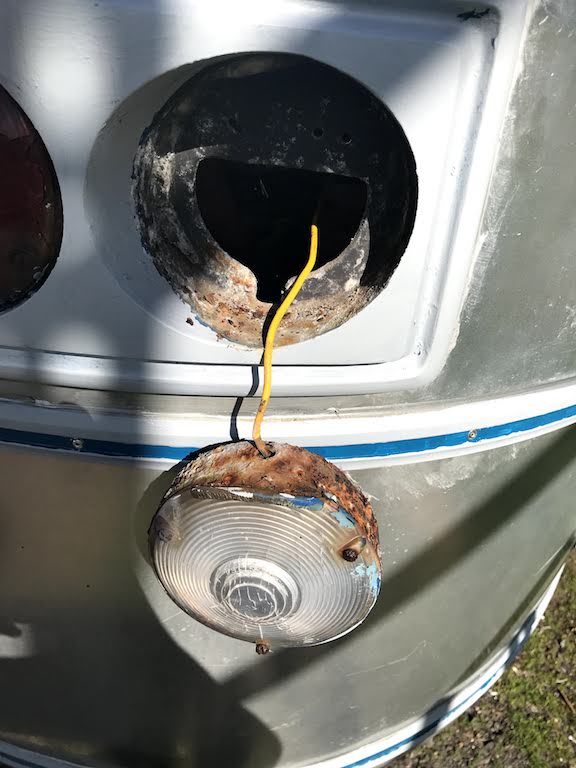
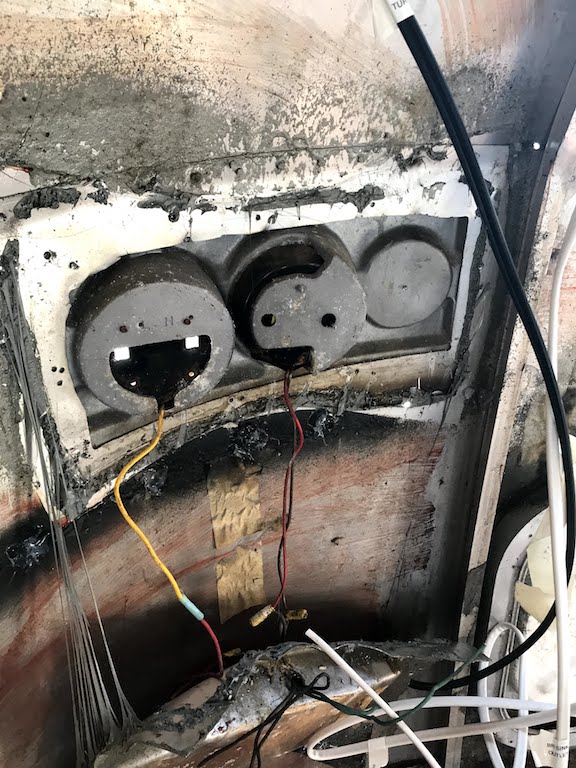
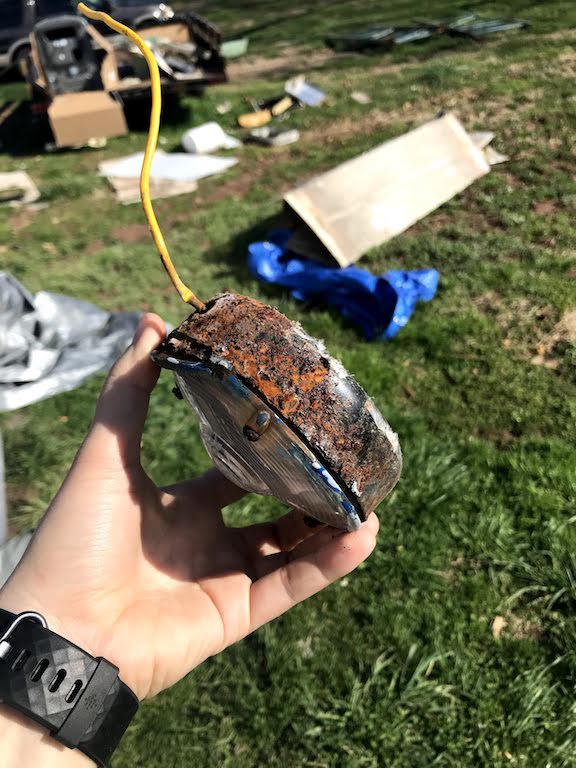
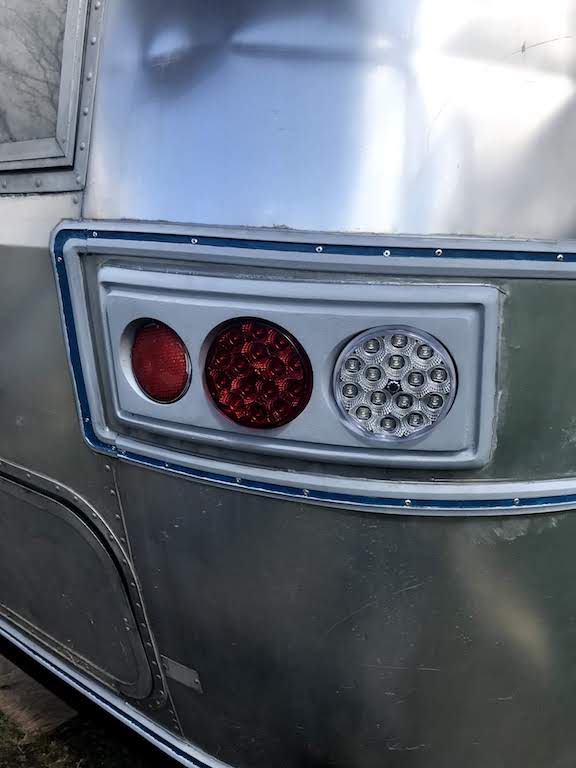
We then ran into a problem. So many of the replacement lights we could buy were more than 4 inches across. We were concerned about taking this risk and buying online, without confidence they would even fit. With the virus, shipping is taking a lot longer than we want it to. We did not want to risk having to delay our project further if they did not fit. But, we ended up risking it in the end, buying inexpensive lights on Amazon. They are below!

It took about a week for them to ship from California. Once we got them, we removed the outside black rims, as the lights did not fit into the slots. Even after removing the rims, the lights were still too large. Luckily, I have a fantastic uncle-in-law who shaved down a rim that was inhibiting it from fitting snuggly into their slots. Once doing this, the lights fit comfortably! After siliconing the lights into place, we are ready to move onto the next project! When the silicone dries, we will complete the new wiring and replace the interior caps.
Much love,
Lauren

Recent Comments