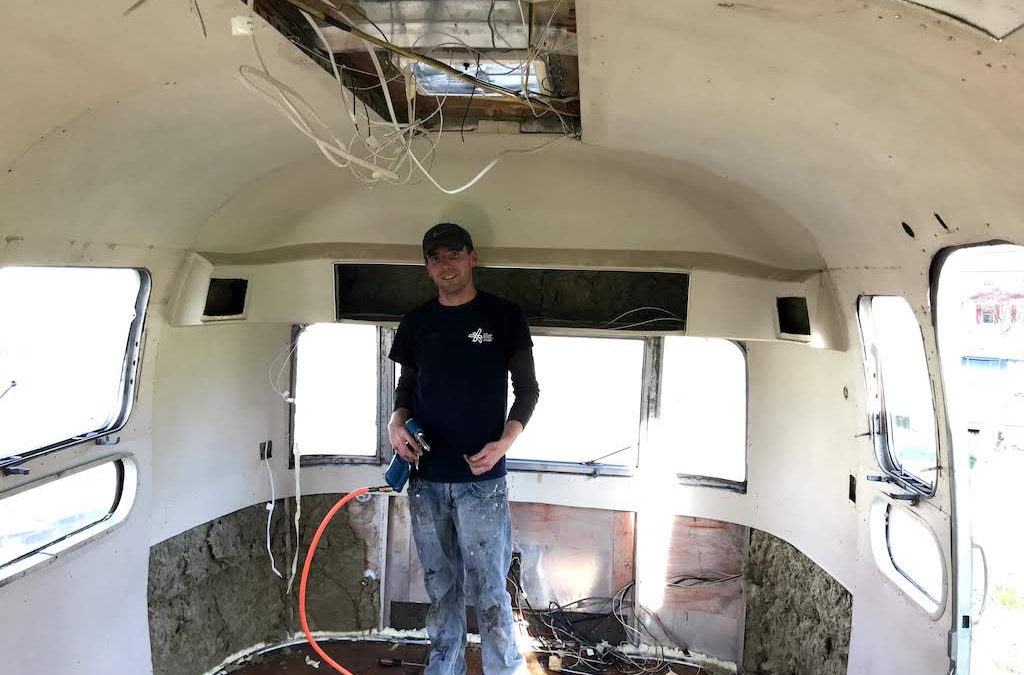
With wiring completed and waterproofing triple-checked, we knew it was time to put up the walls. We were excited. This would be the step in which we would feel like we were in an actual trailer again.
I got out my handy dandy drawings I had expertly crafted, sketched, and labeled. I pulled out the walls, starting flipping them over, and said “oh s!$?.” With all the weather that the walls had endured (we had to store most of them outside), my organization system had fallen apart. Oops. The R and L labels on the backs were wiped off. I did have one good thing though- I had drawn their “rough” shapes and we were able to piece together the puzzle, one wall at a time.
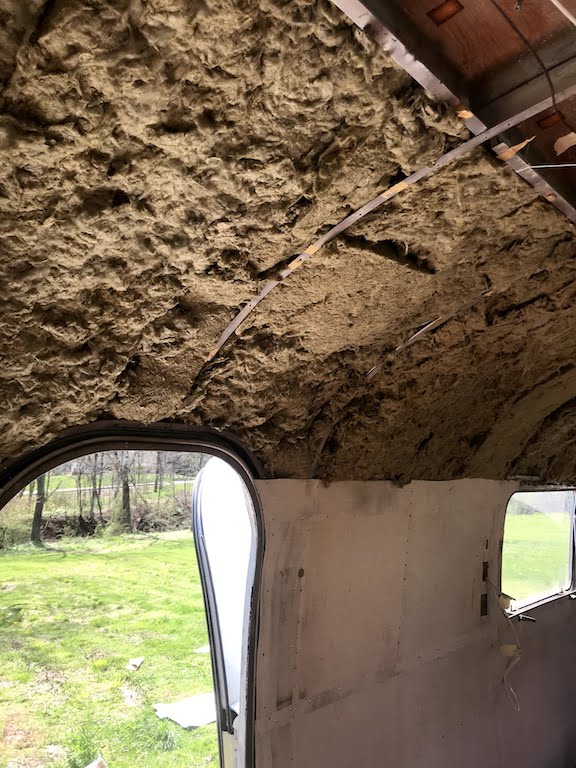
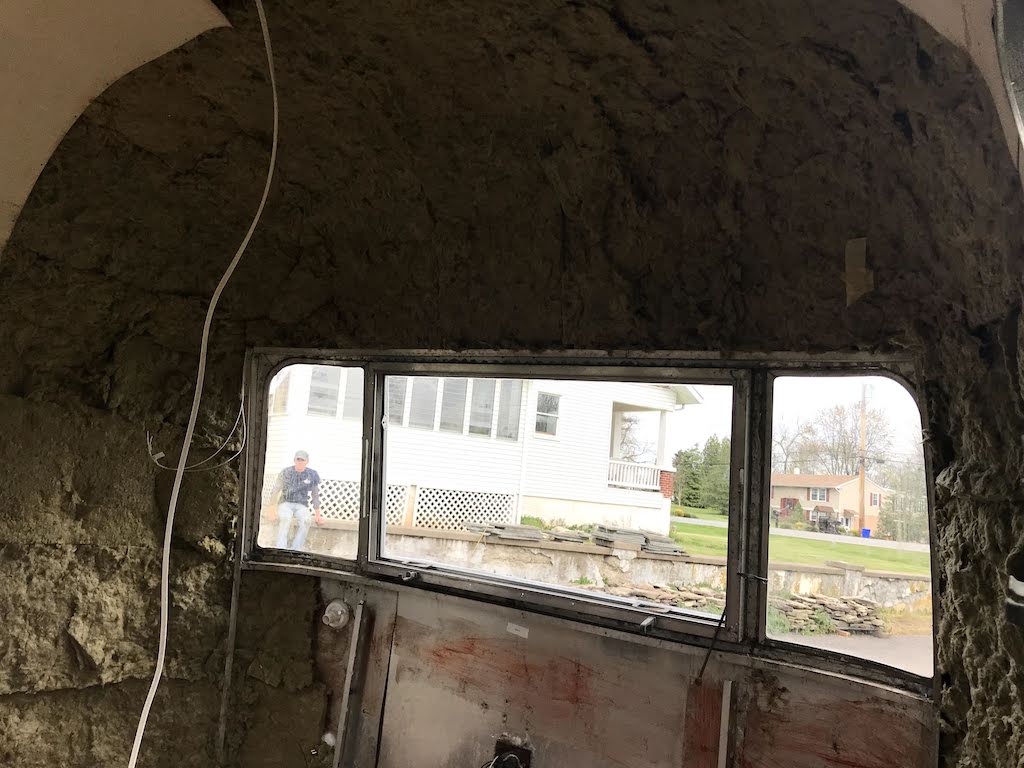
Unfortunately, there was still a step that needed to happen before we even put up the walls. Insulation. I don’t know about you all out there in the Airstream universe, but I HATE INSULATION. The prickly things, raining down on me, making my skin itch, UGH. We decided to go with ROCKWOOL insulation, recommended by the Airstream community. My husband is fully convinced critters also do not eat Rockwool. Whether or not that’s true, I don’t know. But, I nodded my head and said let’s go for it. It also does not have fiberglass in it, so it isn’t as harmful to your skin and lungs.
The sheets of Rockwool were too thick for the width of the openings, so we needed to split each piece in half in order to place it in the slots. We masked and gloved and began placing the insulation in all of the nooks and crannies. We did run into a problem when we got higher, toward the ceiling. Brandon thought that we could wedge it in, which would create pressure on the sheets, and therefore holding them in place. But, it didn’t work. So, I grabbed my insulating mask and trekked out to the hardware store, where I bought two cans of spray adhesive. LIFE SAVER. It worked like a charm. Highly recommend. We finished up the insulation and got ready for some walls.
I will outline all of our mistakes we made during this process at the end of this post, with tips on how we would do it again (but we never will because I’m never renovating another airstream in the time I walk on this Earth). Which leads me to say, we made mistakes in the process of hanging the walls. We put rivets in and took them back out again time and time again.
We started with the right side of the airstream, putting up a large chunk of wall first that was the length of the entire trailer. First problem, since our subfloor was thicker than the original subfloor situation, the bottom of the aluminum wall was really tight to the floor, bowing out a little bit. Luckily, my oh so strong husband was able to bully it back almost all the way, but we needed to patiently rivet and drill more holes to help guide it. Wedging the wall around the windows was also a challenge, on both sides of the trailer, especially underneath around the knobs for locking and unlocking the windows.
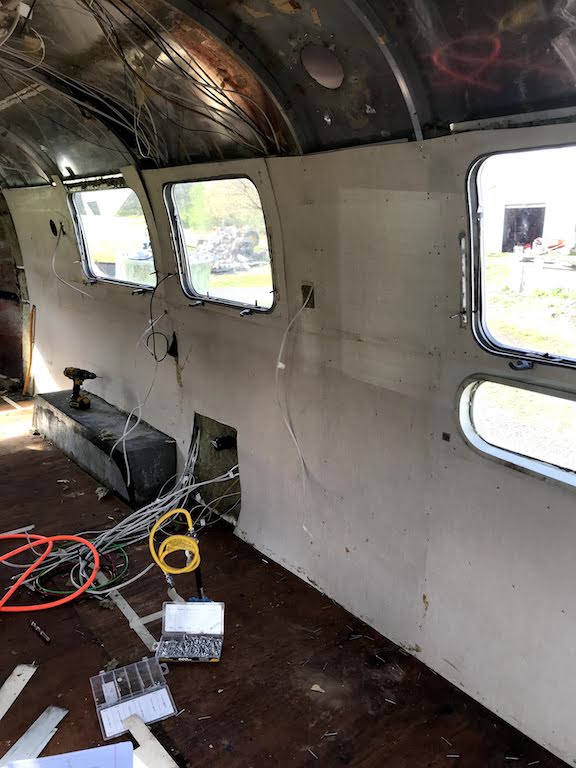
Remember when I said at the beginning that we lost some labels along the way? Well, it took me a while to piece the puzzle back together. There were a lot of right side pieces. For some reason, in the construction of the airstream, they had multiple layers around the windows. We also seriously messed up the order in which these layers needed to be placed back on- something else I did not take notes on. That took a bit to figure out.
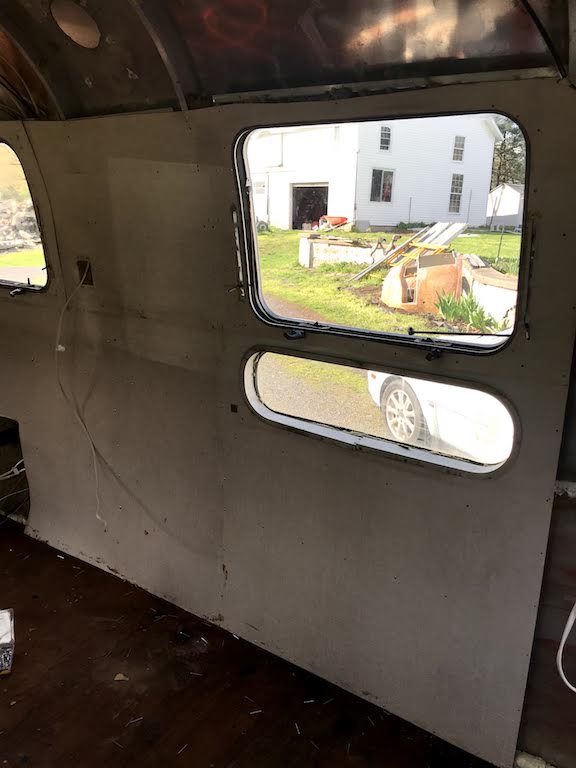
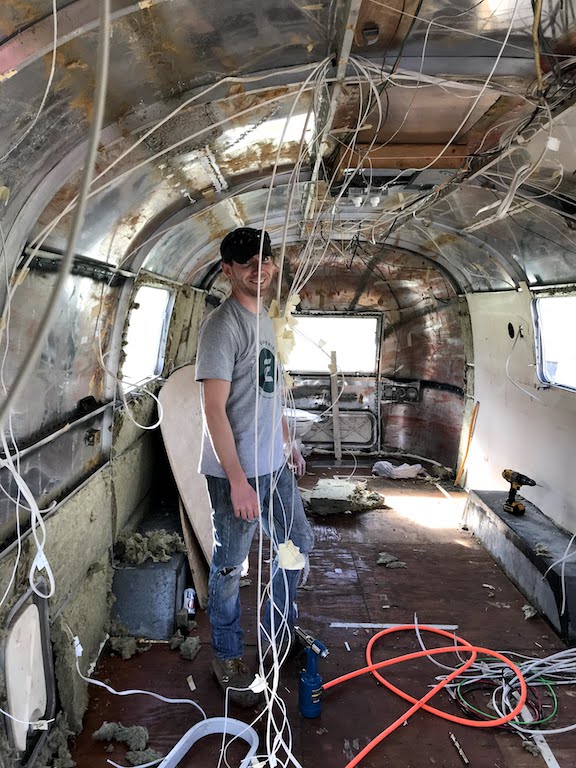
We did the bottom half of the wall on the right side and then did the same on the left side. Then, with all our man power, we held the ceiling pieces in place and riveted them in. Tough work, more arm muscles built. Once our ceiling walls were in place, we were satisfied and felt accomplished, heading home for the day.
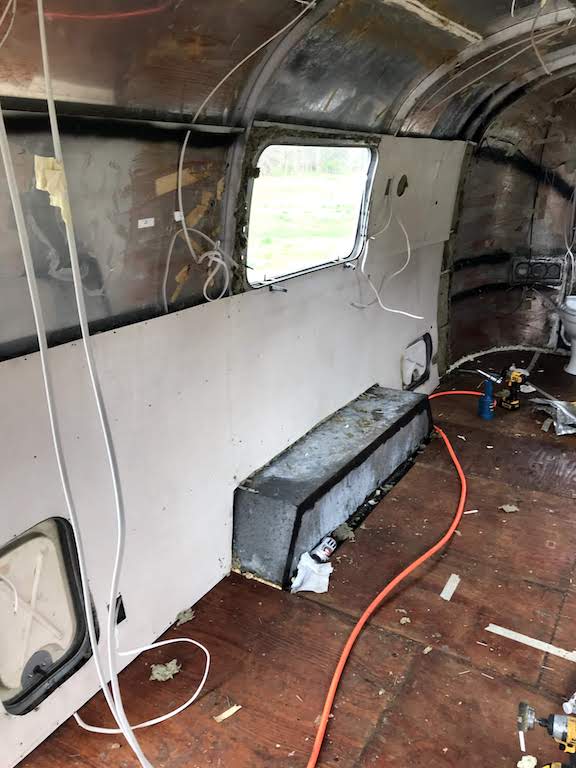

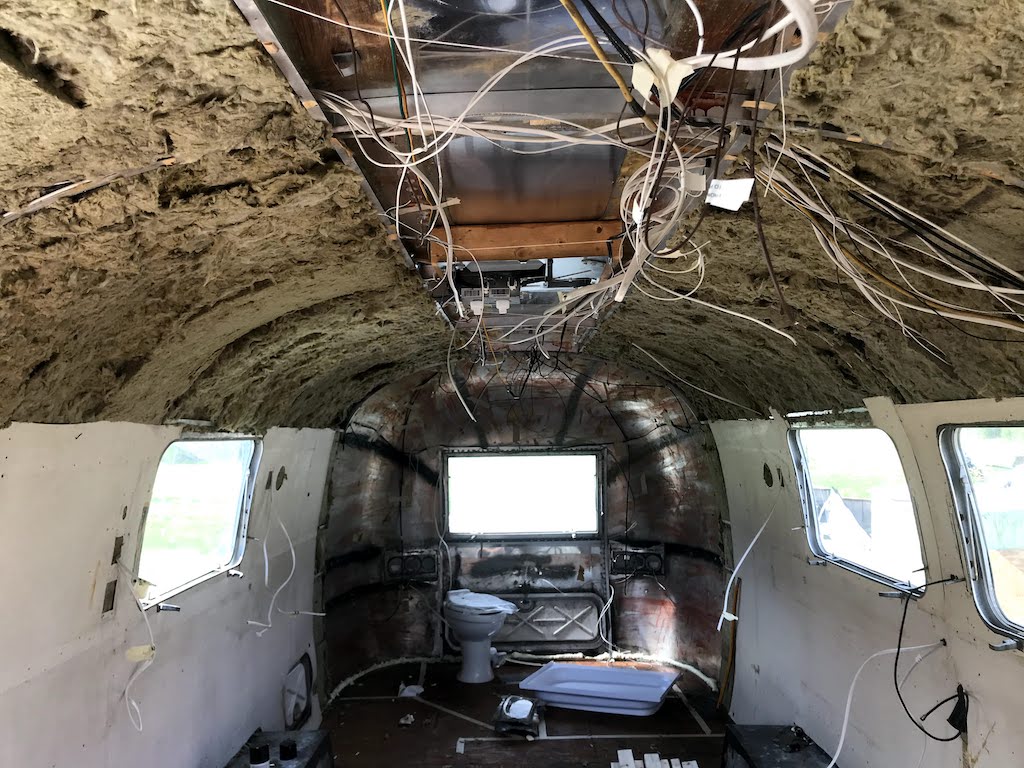

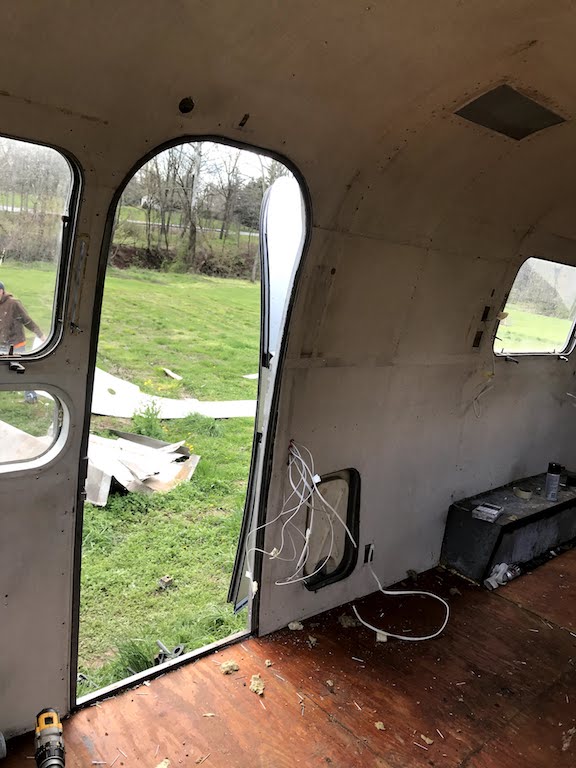
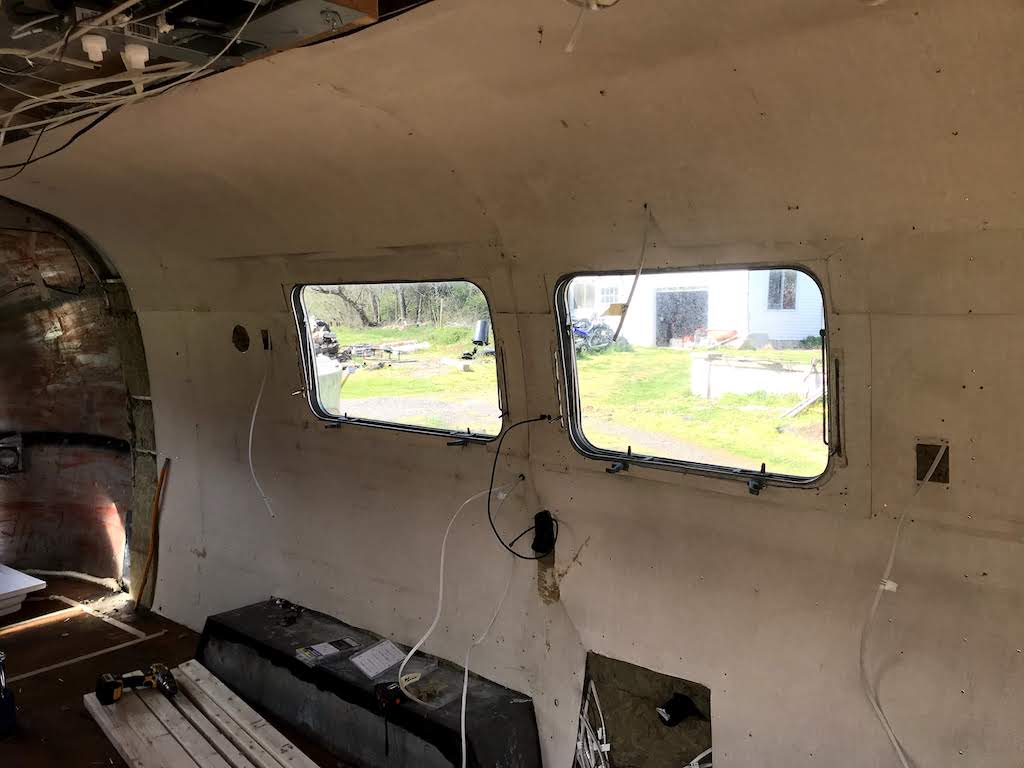
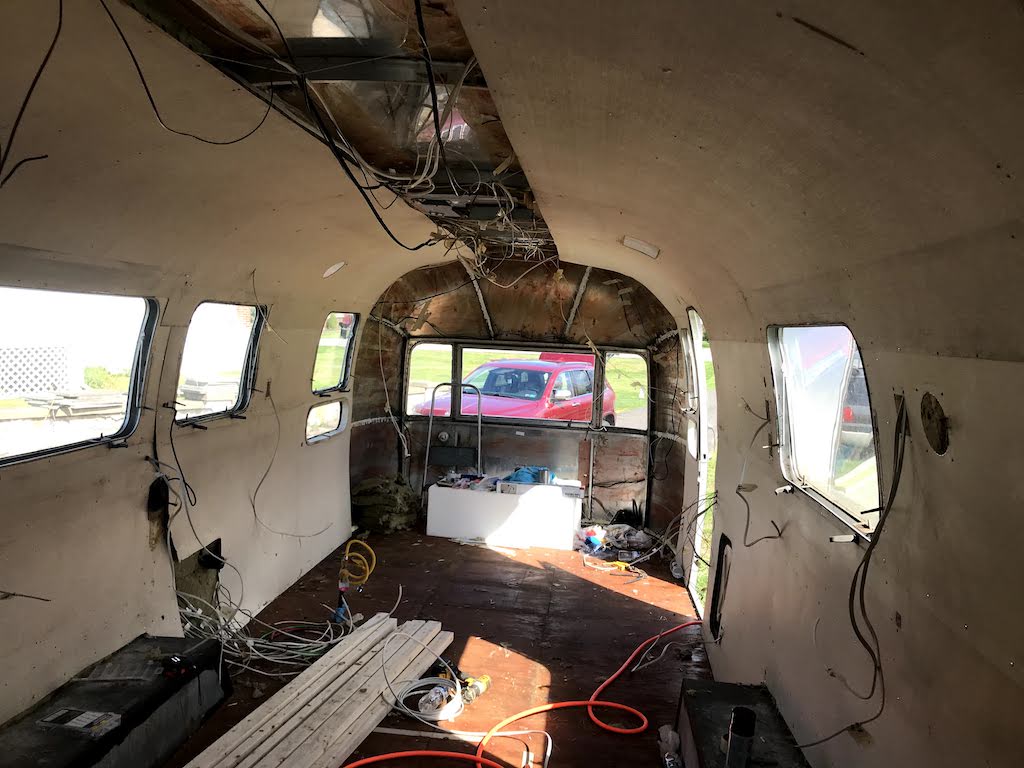
The next day, we returned (surprise, surprise), with a plan in place to frame out new shelves in our front fiberglass cap. We had ripped out the old shelving, drilled out the rivets for the curtains, and removed the old lights. I had hoped that since it was totally off, we could create a new shelving unit before it went back up. The fiberglass cap was in great shape and from the weather pelted on it for months, it was pretty clean 🙂
After building a nice wooden shelf and attaching it to the cap, we were ready to place it up. Another problem. We could not struggle it into its spot now that we had placed walls up on both sides. It wouldn’t wedge underneath. So, Brandon and I thought about a new solution. We had planned to take off both sides’ ceiling walls- which would have been exhausting, drilling out hundreds of already placed rivets. I came up with the idea of only taking out some of the rivets and pulling the wall back and fitting the fiberglass piece into place. It was worth a shot. But, we needed reinforcements. We called Brandon’s mom, Laura, to come help us hold back the walls while we shimmied the cap into place. It needed all four of us to bully it in. If you’ve never heard the satisfying THUNK of a placed rivet grabbing hold of the metal frame, you’re missing out. Very little in this project beats that. Well, we heard that familiar THUNK over and over again as Brandon riveted the cap into place. The walls were then replaced back on top of it (the cap was the bottom layer, OOPS!) and we riveted them back into place.
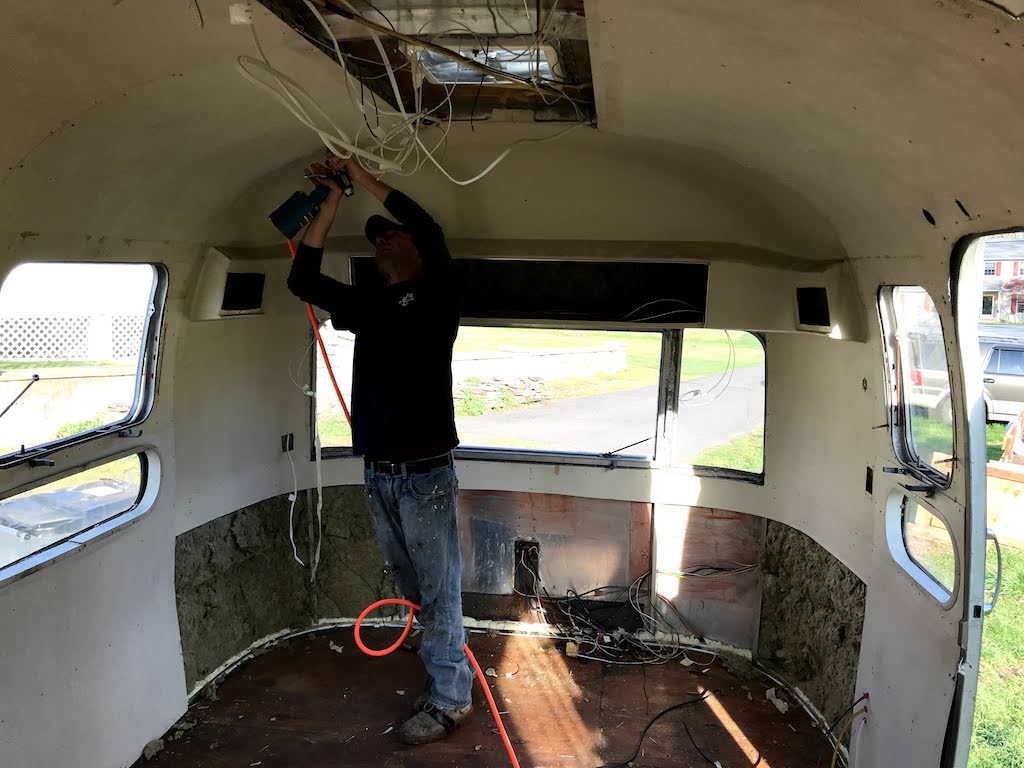
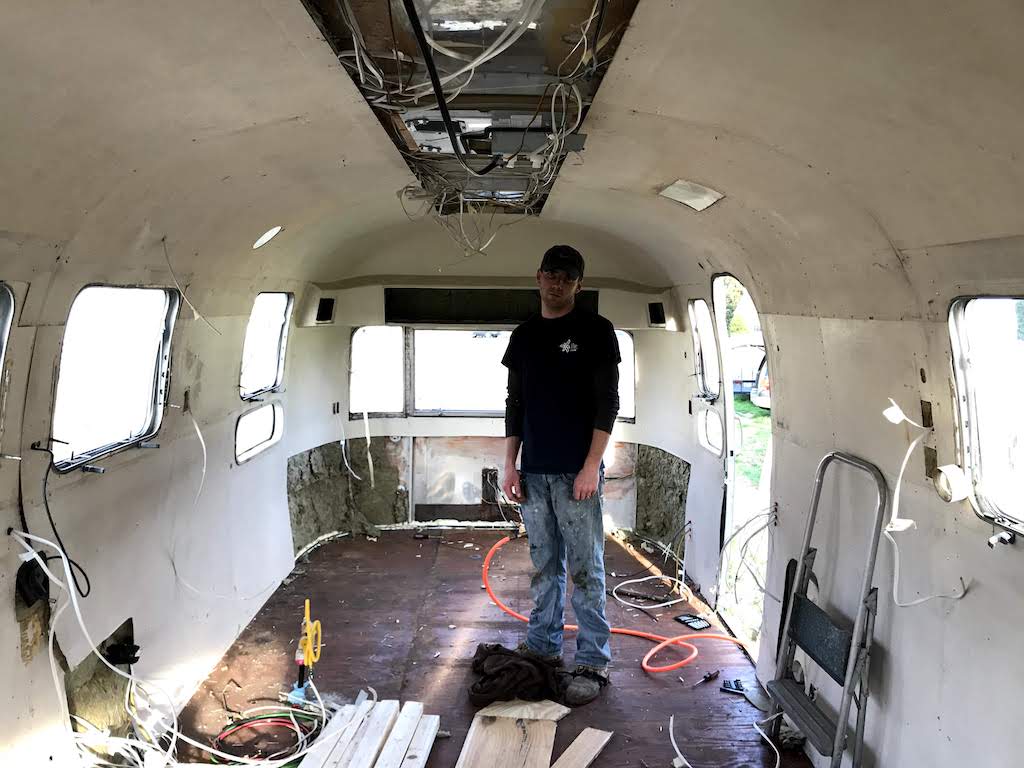
HALLELUJAH!
So, as I promised here are our tips (or in other words, what we should have done in the first place…..):
One: Drawing a picture and labeling is key. I still believe that. I wish that I had taken a little bit more time to draw more specific pictures and taken note of the layers in which we pulled off the walls. This way, we would know the order to which they would have to go back up.
Two: Do the damn cap first. Nuf said.
Three: You’re going to need some more people for placing the walls, so be prepared. They are a lot heavier than they look! Have reinforcements ready.
Four: Have spray adhesive already. It will save you a trip to the hardware store.
Onto the next step!!!
Much love,
Lauren

Recent Comments